If you’re new to espresso brewing, you might wonder why a coffee tamper is considered essential. As a home barista with 10 years of experience, I’ll explain the science and practicality behind this tool—and how it can transform your espresso from mediocre to exceptional.
1. The Core Purpose of a Tamper: Controlling Extraction Uniformity
Espresso lives or dies by the consistency of your coffee puck. A tamper applies vertical, even pressure to solve two critical issues:
-
Eliminating Air Gaps: Loose or uneven grounds create pathways for water to channel through, causing over-extraction (bitterness) in some areas and under-extraction (sourness) in others.
-
Stabilizing Resistance: A uniformly compacted puck ensures hot water extracts balanced flavors (e.g., chocolatey richness or fruity acidity) from every coffee particle.
Science Backed: Studies show inconsistent tamping can cause extraction yield variations up to 5% (SCA Coffee Brewing Control Handbook).

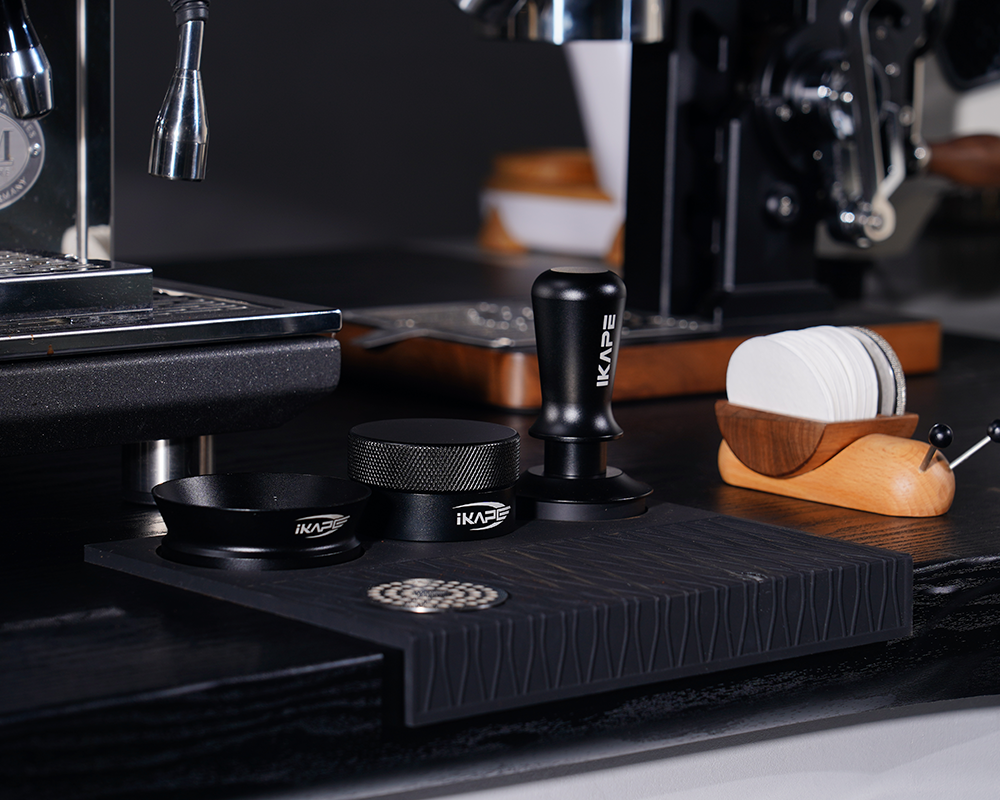
(IKAPE coffee calibrataed tamper bar set)
2. Tamper vs. Finger Tamping: Why You Need the Right Tool
Newbies often try pressing grounds with fingers or spoons, but this leads to:
-
Uneven Pressure: Fingers can’t apply vertical force, creating slanted pucks with edge gaps.
-
Insufficient Force: Professional tamping requires 15-20kg (30-40lbs) of pressure—impossible to achieve by hand.
-
Hygiene Issues: Direct contact introduces oils or contaminants that alter flavor.
Test Results: A properly tamped espresso extracts in 25-30 seconds for 36g yield; hand-tamped shots often run too fast (15s, under-extracted) or too slow (40s, over-extracted).

(IKAPE V5 click coffee tamper)
3. How to Choose Your First Coffee Tamper
Tampers range from 200. Focus on these three factors:
Size Matching Your Portafilter:
Most home portafilters are 58mm; opt for a 58.5mm tamper head (0.5mm larger to prevent edge gaps).
Material & Grip:
Metal (stainless steel/copper): Durable and easy to clean.
Wood/Plastic: Lightweight and cheap but prone to wear.
Ergonomic Design:
A handle with a tennis-racket-like grip and anti-slip texture improves control.
Top Picks:
Budget: Normcore Calibrated Tamper ($30-$45, spring-loaded for consistent pressure).
Long-Term: Pullman Big Step ($150, precision-fit for commercial baskets).
4. Tamping Technique: 3 Steps to Better Espresso
-
Center Alignment: Position the tamper directly over the portafilter, keeping your wrist straight.
-
Steady Pressure: Press down with your palm heel using slow, firm force (like pushing an elevator button).
-
Polish the Puck: After tamping, gently twist the tamper to smooth the surface and eliminate cracks.
Common Mistakes:
-
Retamping: Press once—repeating compacts the puck unevenly.
-
Over-Tamping: Exceeding 30kg pressure can choke the machine.
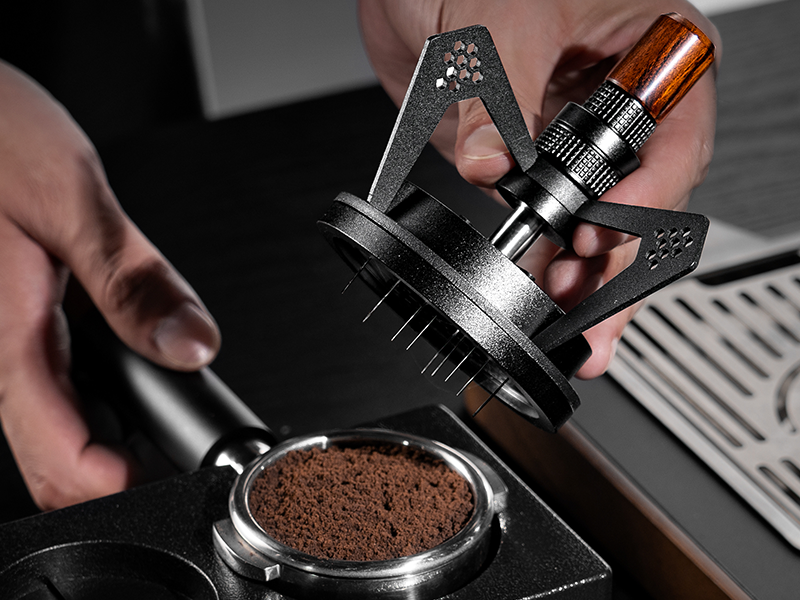
5. Advanced Tip: Can a Tamper Replace a WDT Tool?
No! Tampers and WDT tools work together:
-
WDT Tool: Use needles to break clumps and distribute grounds evenly.
-
Tamper: Then compact the puck for uniform density.
Combining both maximizes extraction consistency.

(IKAPE V3 espresso wdt tool)
Conclusion: Elevate Your Espresso with the Right Tamper
A coffee tamper is the unsung hero of espresso. It bridges the gap between “drinkable” and “exceptional.” Remember: Even tamping = even extraction. Grab your tamper and start practicing—your taste buds will thank you!